
Evermore
Play Evermore
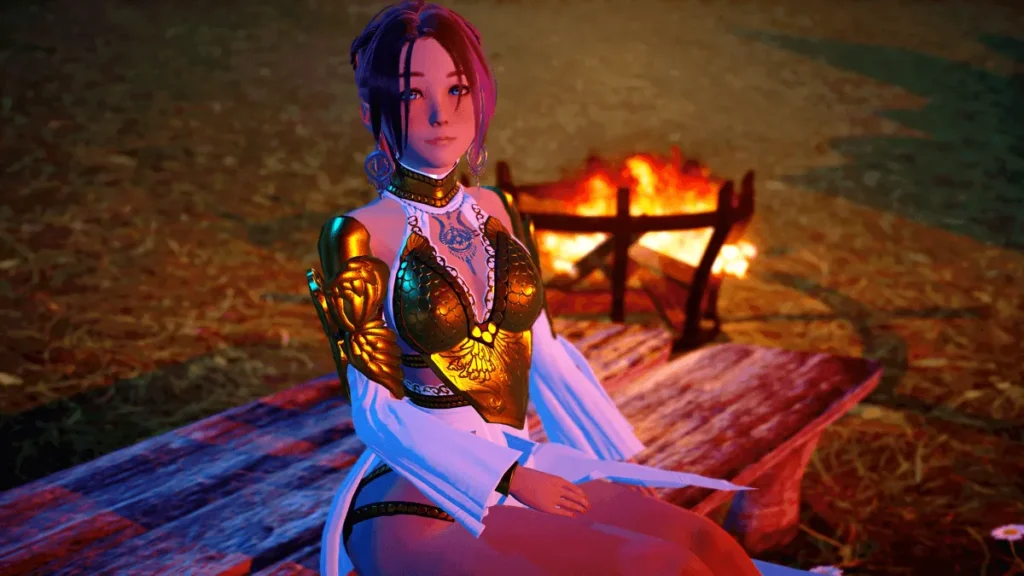
Evermore Screenshots


Evermore review
A player-first walkthrough, tips, and personal insights on Evermore
Evermore is a narrative-driven adult-themed game with branching routes, multiple endings, and character-focused storytelling—this article digs into everything you need to play and enjoy Evermore. In the first paragraph I’ll cover the main features: story structure, core mechanics, and platform availability, then share a personal anecdote about first impressions to hook the reader. Whether you’re curious about route requirements, how to unlock specific outcomes, technical setup, or best practices for a safe play experience, this guide offers hands-on advice and clear walkthrough steps to improve your experience.
Getting Started with Evermore
So, you’ve heard the whispers about a world where memories are landscapes and stories are written in the fabric of reality itself. You’re ready to dive into Evermore, but maybe you’re staring at the download button, wondering if your PC can handle it, or you’re worried about messing up your first steps. Been there, felt that! 😅 This guide is your friendly, hand-held lantern to light the way. Consider this your personal Evermore setup guide, designed to get you from “interested” to “immersed” without any hiccups.
What Evermore is and who it’s for
At its heart, Evermore is a narrative-driven adventure wrapped in a mystery. You play as the Archivist, a newcomer to a strange, ever-shifting realm built from the collective memories of its inhabitants. Your job isn’t to conquer, but to explore, understand, and piece together fragments of lost stories. The gameplay is a beautiful mix of gentle exploration, environmental puzzle-solving, and meaningful dialogue choices that genuinely shape the world and your relationships within it.
The tone is thoughtful, often melancholic, but brimming with moments of profound wonder. It’s a game for players who loved getting lost in the atmosphere of titles like Journey or What Remains of Edith Finch, but crave a bit more agency in unraveling the tale. If you’re someone who reads every in-game note, who stops to just listen to the virtual wind, and who believes a story’s emotional payoff is worth more than a high score, then Evermore was crafted with you in mind.
A quick, important note before we proceed: Evermore deals with mature themes of loss, identity, and the subjective nature of memory. While not graphically explicit, its emotional landscape can be heavy. It’s a poignant, beautiful experience, but one worth approaching with that awareness.
Currently, Evermore is available exclusively on PC via official platforms. Ensuring you get a proper Evermore download is your first and most crucial step toward a safe and seamless experience.
System requirements and installation
Let’s get the practicalities out of the way first. Nothing kills a mystical vibe faster than lag or crashes! Here’s what you need to know to ensure your hardware is ready for the journey.
Evermore system requirements are thankfully quite reasonable. The game is more about artistic beauty than raw graphical power, but you’ll want a smooth frame rate to fully appreciate its flowing, dreamlike environments.
Here’s a quick breakdown of what you’ll need:
| Component | Minimum Requirements | Recommended Specifications |
|---|---|---|
| OS | Windows 10 (64-bit) | Windows 10/11 (64-bit) |
| Processor | Intel Core i5-4460 or AMD FX-8350 | Intel Core i7-4770K or AMD Ryzen 5 1500X |
| Memory | 8 GB RAM | 16 GB RAM |
| Graphics | NVIDIA GTX 760 or AMD Radeon R7 260x | NVIDIA GTX 1060 or AMD Radeon RX 580 |
| DirectX | Version 11 | Version 12 |
| Storage | 15 GB available space | 15 GB available space (SSD recommended) |
I remember running the benchmark tool on my mid-tier laptop, holding my breath… and then grinning when it landed solidly in the “Recommended” range. That first loading screen flew by, and I was plunged into the game’s hauntingly beautiful introduction without a single stutter. It was the perfect technical start to an emotional journey.
Now, for the most critical part: the Evermore download. 🚨 Only ever obtain the game from its official store page on major platforms like Steam. 🚨 Avoid third-party key resellers or random download links like the plague. An untrusted build can not only be a security risk for your PC, but it often lacks access to critical patches, cloud saves, and community features. Protecting your privacy and your system starts here.
Once you’ve purchased it, how to install Evermore is straightforward:
- Open your platform client (e.g., Steam) and navigate to your Library.
- Find Evermore in your list and click “Install.”
- Choose your installation drive (an SSD will drastically improve load times).
- Let the client work its magic! It will handle the entire Evermore download and installation process.
- Once installed, the client will usually check for and apply any Day-One patches automatically. Ensure your client is set to “Keep this game updated” for the smoothest experience.
🛡️ Pro-Tip: Always ensure your graphics drivers are up-to-date before launching a new game. A quick visit to NVIDIA’s or AMD’s website can prevent a multitude of potential visual glitches.
First-time setup: profiles, saves, and settings
The installation is done, the icon is on your desktop… now for the fun part. Let’s configure your gateway to Evermore. This initial setup is what transforms a generic installation into your personal journey.
Upon first launch, you’ll likely be asked to create a player profile. This isn’t just a name—it’s your unique key for the game’s save system. I highly recommend using a name you’ll remember, as this profile will house every decision, every discovered memory fragment. Think of it as labeling your own journal before you start writing.
Next, dive into the Settings menu. Taking ten minutes here will vastly improve your first time playing Evermore. Here’s what I tweaked (and why):
- Display: I immediately set the game to Fullscreen mode for maximum immersion and performance. I also enabled V-Sync to eliminate screen tearing. The game’s default resolution should match your monitor’s native resolution for the sharpest image.
- Audio: This is a game where sound design is half the story. 👂 Adjust the master volume to a comfortable level, but pay special attention to the “Dialogue” and “Ambience” sliders. I turned ambience up a notch to really lose myself in the world.
- Gameplay: Find the “Text Speed” option. Evermore has a lot of wonderful, voiced dialogue. I set mine to a pace that allowed me to read the subtitles just a moment before the voice actor delivered the line—it felt natural and kept me engaged.
- Autosave: ENABLE THIS. The game’s autosave feature is robust and non-intrusive. It creates a safety net at key moments, so you never lose significant progress. It’s the first step in learning how to back up Evermore saves indirectly, as it protects you from in-the-moment losses.
Speaking of saves, let’s talk strategy. Evermore uses a rotating autosave slot and allows you to create manual saves. My golden rule? Create a new manual save at the start of every gaming session. Name it with the date or a quick note (e.g., “Before the Twilight Garden”). This gives you a clear point to return to if you want to replay a section or if something goes wrong.
Which brings us to a vital practice: how to back up Evermore saves manually. Your save files are precious! They live in a folder on your PC (usually in Documents\My Games\Evermore or within your platform’s user data directory). Simply copy that entire folder and paste it to a backup location—like an external drive or cloud storage (Google Drive, Dropbox) every once in a while. It’s a five-minute task that can save dozens of hours of heartfelt progress.
Now, you’re configured, saved, and ready. What about those crucial first moments? Here are my spoiler-free tips for the first 30 minutes of play to get the best start:
- Slow Down. This isn’t a race. Walk, don’t run. The environment is a character.
- Look Down. Inspect glowing objects and subtle prompts. The game speaks through its world.
- Talk to Everyone. Even the seemingly minor characters have layers to uncover.
- Embrace the Silence. Not every moment needs to be filled with action. Let the mood settle.
- Don’t Stress Choices. There are no “game over” dialogue picks. Go with what feels right for your Archivist.
Following this Evermore setup guide ensures your technical foundation is rock-solid, letting you focus entirely on what matters: the story. Your adventure into the memory-scape awaits, and it’s one you’ll want to remember perfectly. Now, go on. The first chapter is waiting. ✨
Evermore offers an experience shaped by player choice, with layered routes, multiple endings, and a community of players and creators who expand the game’s life. This guide covered essential setup steps, narrative structure and route unlocking, gameplay mechanics and quality-of-life tips, walkthrough highlights for key decision points, and community and safety best practices. Try the suggested play order or experiment with save branching to discover different outcomes; share your discoveries with the community, and always prioritize official sources and safe modding practices. If you found this guide useful, save it for your next playthrough and consider contributing your own route notes to help fellow players.